Lockdown Boredom
About to get into the 4th month of the lockdown here in Argentina, and I started to think what trouble could I get into.
##Enter IoT.
I’ve always quite liked to have a kind of dashboard with bits and pieces of information about home. My first idea was to keep an updated inventory of my groceries but that meant going shopping to debug stuff, so, no-no for now.
I turned my attention to some hardware I got a while ago, namely a WeMos D1 mini board, and figured thought “what can I (ab)use it for?”
Going over my components box I found a photoresistor and a couple minutes later I had a thing that tracked how much (sun)light my house was getting.
From there, it only got worse: I now wanted a sort of “environment dashboard” with temperature humidity and pressure conditions, charts, and such.
Hardware
I took a breadboard and started laying out the components for this: the WeMos board itself, the photoresistor, and a DHT22 sensor that takes care of the temperature and humidity measurements.
Firmware
There is a DHT22 library for Arduino (which I had used in a previous POC with a MellBell Pico board I had, but that one doesn’t work with the ESP8266 in the WeMos, so there’s the DHTesp library for that, just know that, when configuring it, don’t use the pin references in the board (like D1, the library likes the GPIO pin number, D1 is 5)
Intermission: Message brokers and queues
I had already worked with people with a lot of experience with IoT and I remember them mentioning “stuffing data into a queue”, so I thought “maybe that’s a good idea” and got into researching RabbitMQ.
RabbitMQ is a message broker application that receives messages from both MQTT and AMQP protocols and stores them until a consumer asks for them. In my case, the idea was for the WeMos board to push straight into a data queue, saving me the hassle of doing web service calls from the little board itself.
Firmware, continued
The PubSubLibrary takes care of posting to MQTT, no biggies there.
Pretty much simple, started off from the example sources for the MQTT library that was specific to the ESP8266, that already takes care of setting up the WiFi settings and configuring the MQTT queue to use.
Then the code for setting up the DHT22 sensor and reading from it was quite straightforward from the samples as well.
The event loop would run every 5 minutes (then I reduced it to just 1 minute) and just read the sensor values, format them up as a JSON object, and send them into the data queue.
Middle tier
I ended up hosting an instance of RabbitMQ in a RaspberryPi 3 for ease of use. Configuring the broker was a bit of an experience due to some things I hadn’t considered when following RabbitMQ’s “hello world” tutorial, namely the fact that the tutorial expects that both publisher, consumer, and broker would be running in the same host, which I wasn’t1.
Now the next step was actually reading that data that was queuing up. The WeMos board was sending out JSON chunks with the recorded sensor data, along with an identifier of where that board was located, and my plan was to store everything in a sqlite database for later consumption. This worker process would run in the Pi as well.
For the time being, I settled on using MongoDB Atlas, a NoSQL database, because of the simple fact that it was a tad late at night and didn’t want to write a whole bunch of SQL queries, but also didn’t want to lose tracking any ghosts or entities playing with my lights or the thermostat while I was asleep.
I wrote a nodejs application with the aqmp and mongoose packages. The first one takes care of connecting to the broker and reading the incoming messages, and the latter is for storing them in a MongoDB instance.
Now, something interesting was the fact that RabbitMQ uses the AMQP protocol, whereas the WeMos board connects using the MQTT protocol. To actually get the messages into the data queue from MQTT, a binding needs to be set up that will take the MQTT topic into the target AMQP queue2.
Front end
I finally had the WeMos board talking to the broker, the broker to the worker process, and the worker sending data into MongoDB.
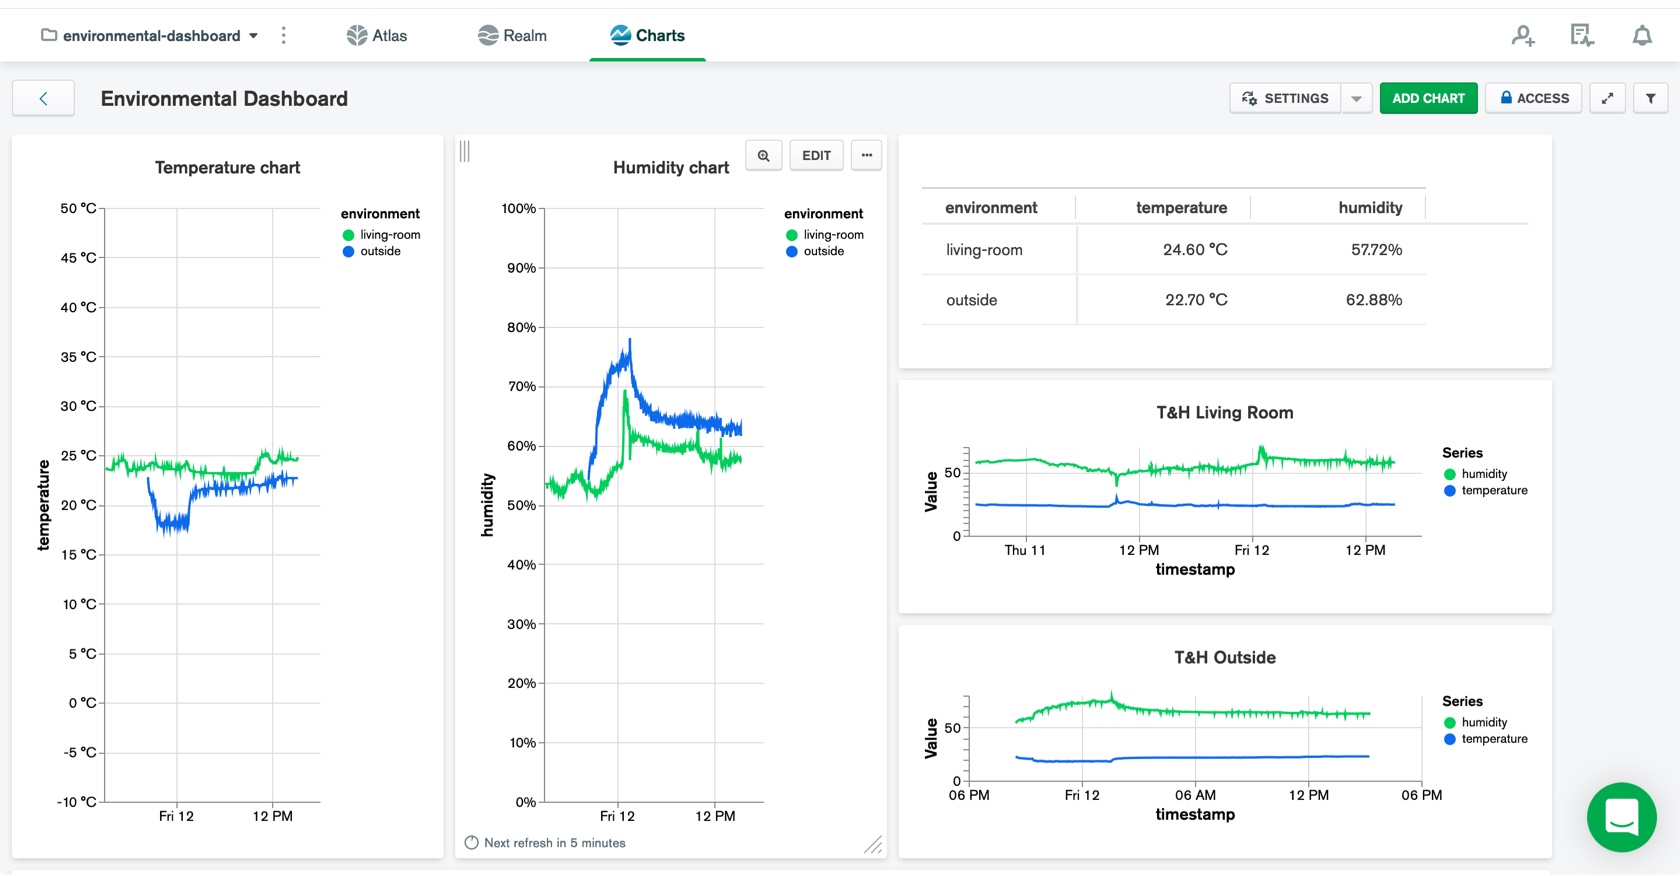
Then I realized Atlas offers a dashboards feature, so I’ve been playing with it for a while and got to some pretty interesting visualizations of my data.
My end goal is still to have a local solution that does not depend on anything other that my, well, local network to work properly, but that might as well be a project for the next pandemic next weekend.
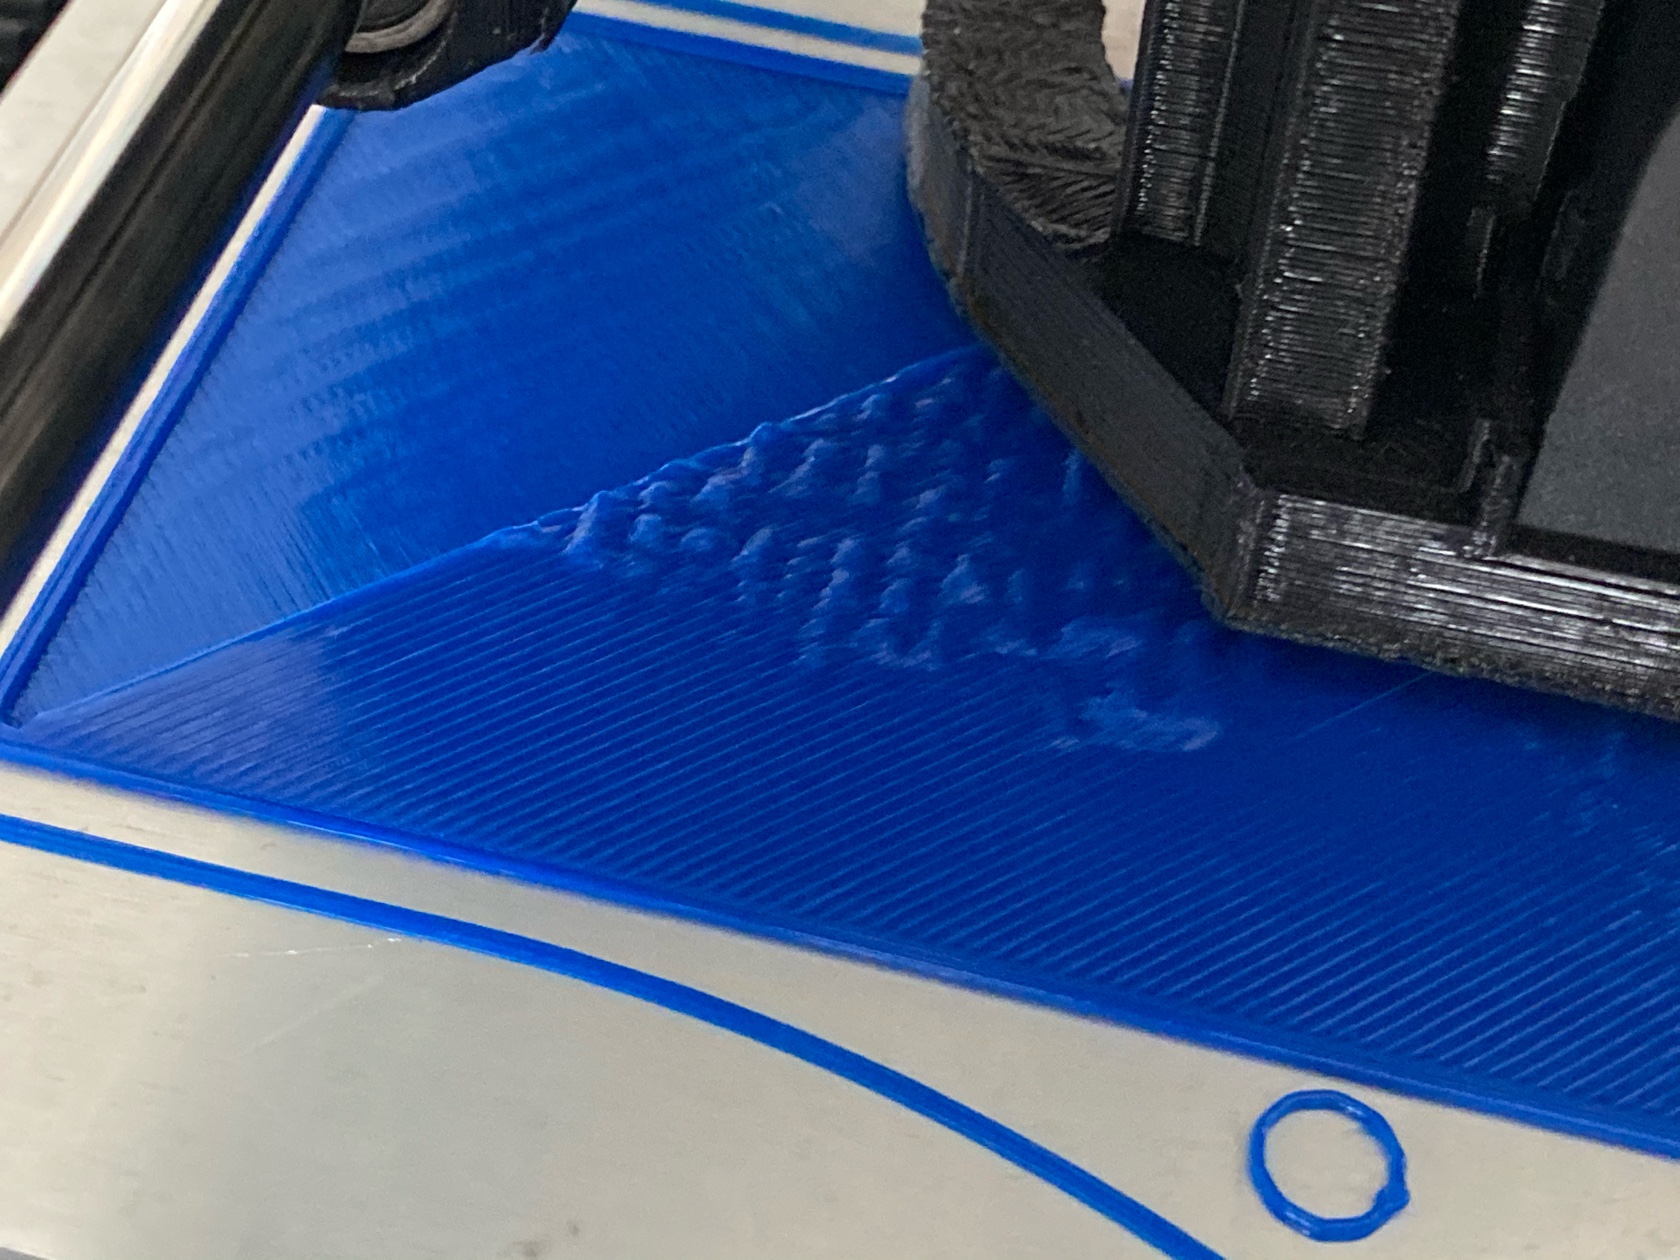
I now have two (kind of) identical boards3 that send data from both inside and outside (yes, I went outside to place the device), and right now I’m printing a box to protect it from the elements4.
While I clean up the sources enough to be bearable to the reader, here’s a screenshot of the dashboard:
Left two plots, blue is outside, green is inside with temperature/humidity: inside vs. outside. The other two line charts plot both measurements for the same place. Table at the top right shows average values for the last 5 minutes of measurements.
- exchange:
amq.topic - routing key:
<your MQTT topic name>
My thought was that this tells RabbitMQ to look for the given topic and route the messages to the queue specified in the routing key.
Footnotes
-
If you run into that, make sure that either the
guestuser is allowed to connect from sources other thanlocalhost, or, better, create a dedicated user for the application you’re developing. Don’t forget to set the appropriate permissions. ↩ -
I used the web admin tool. The process involves creating a binding with the following parameters: ↩
-
Kind of identical: same hardware and firmware, only difference is one has a light sensor, the other doesn’t. ↩
-
Ran into some issues
↩

